- Thumbnail
-
- Resources
- Received from the internet, please help me if you know its origin.
- Author
- Babel Fish Papercraft Factory
- Printed File Format
- Page(s)
- 22
- Part(s)
- 185
- Instruction Format
- PDO
Sponsored:
Sponsored 2:
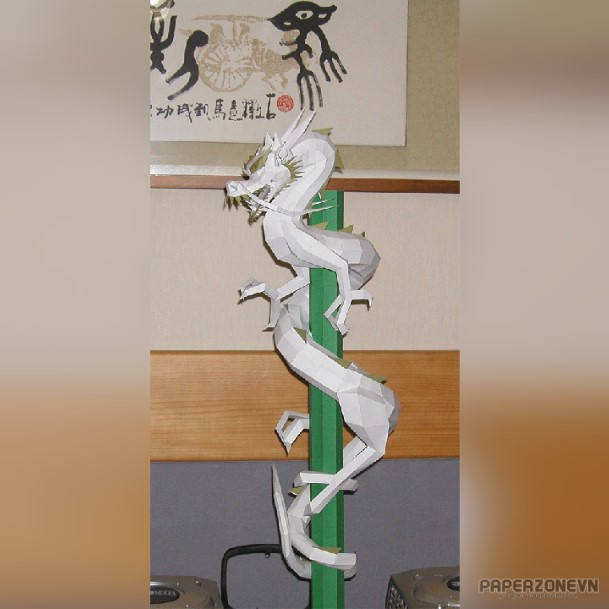
Japanese spiral dragon papercraft
Japanese dragons (日本の竜, Nihon no ryū) are diverse legendary creatures in Japanese mythology and folklore. Japanese dragon myths amalgamate native legends with imported stories about dragons from China, Korea and the Indian subcontinent. The style and appearance of the dragon was heavily influenced by the Chinese dragon, especially the three-clawed long (龍) dragons which were introduced in Japan from China in ancient times.
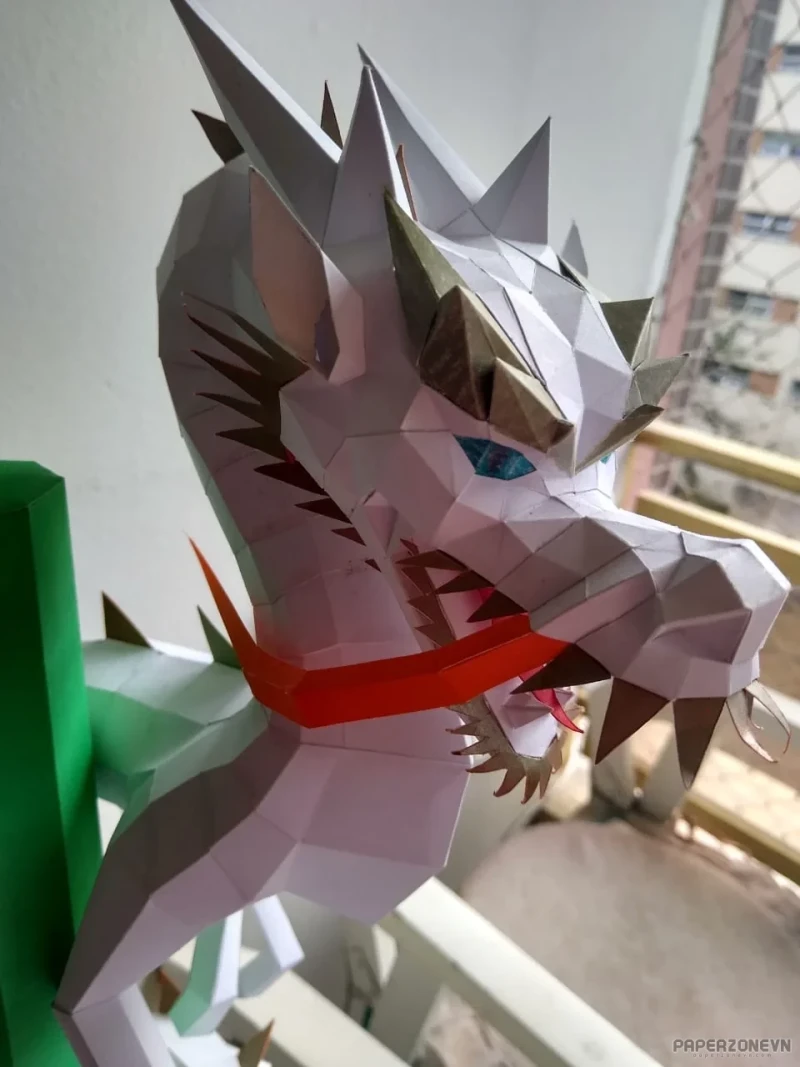
I made this one in white/gold, painted with colored pencils. Its a very beautiful piece, 90cm tall!
Important building tips:
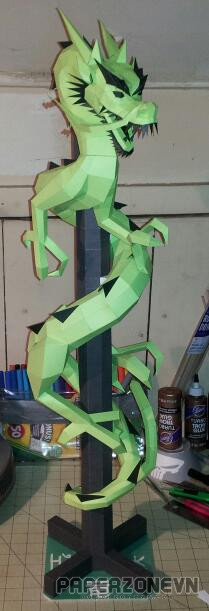
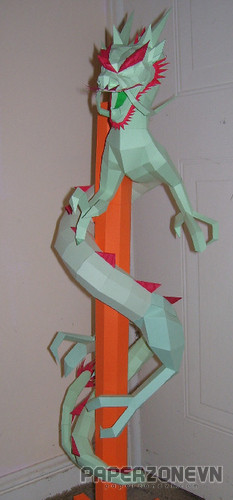
Here are some color variations I collected:

Japanese dragons (日本の竜, Nihon no ryū) are diverse legendary creatures in Japanese mythology and folklore. Japanese dragon myths amalgamate native legends with imported stories about dragons from China, Korea and the Indian subcontinent. The style and appearance of the dragon was heavily influenced by the Chinese dragon, especially the three-clawed long (龍) dragons which were introduced in Japan from China in ancient times.
I made this one in white/gold, painted with colored pencils. Its a very beautiful piece, 90cm tall!
Important building tips:
- If you start with the mouth, the top of the head is really hard to assemble, with hard to reach places. Begin with the snout, then the eyes, only then start with the mouth's roof and chin. By doing this, you can also glue the beard's pieces over the mouth roof and below the mouth floor(?), so their tabs won't show. Same thing when assembling the beard parts behind the ears.
- Cut the ears over a blank piece of paper (to create a copy), so you have a completely blank piece; else fold marks will show. Same thing with the whiskers, the four teeth and the claws.
- Pieces with a * have a spinal ridge or fin. Cut out the flap, glue the fin flat and use the fin's flaps to close the body section.
- Speaking of the whiskers (the long ones), do them in a different color, they are not the same as the body.
- Before starting the neck, cut 2 small pieces of paper and glue to the other side of the ears tabs so you can't see all the ugly inside.
- Do NOT use the last part of files 01, 03, 04 and 05. Those are repeated on the next file.
- When building the arms and the legs, finish them before attaching to the body.
- The best part to build after part 03-ude is the base, 07-hasira. Join the five green pieces flat, aligning them as perfect as possible; only then close the octagon. Build the remaining parts around the base, or else you will not be able to attach the dragon to the base!
- The finished model is not well balanced, it tips towards the head. Attach the base legs to a piece of cardboard (I used a shoebox lid) to make if more stable.
Here are some color variations I collected:
Sponsored: Google Advertising


