- Thumbnail
-
- Resources
- aoccraft.com
- Author
- Tiền Phương
- Printed File Format
Sponsored:
Love park popup card
Hi everyone,
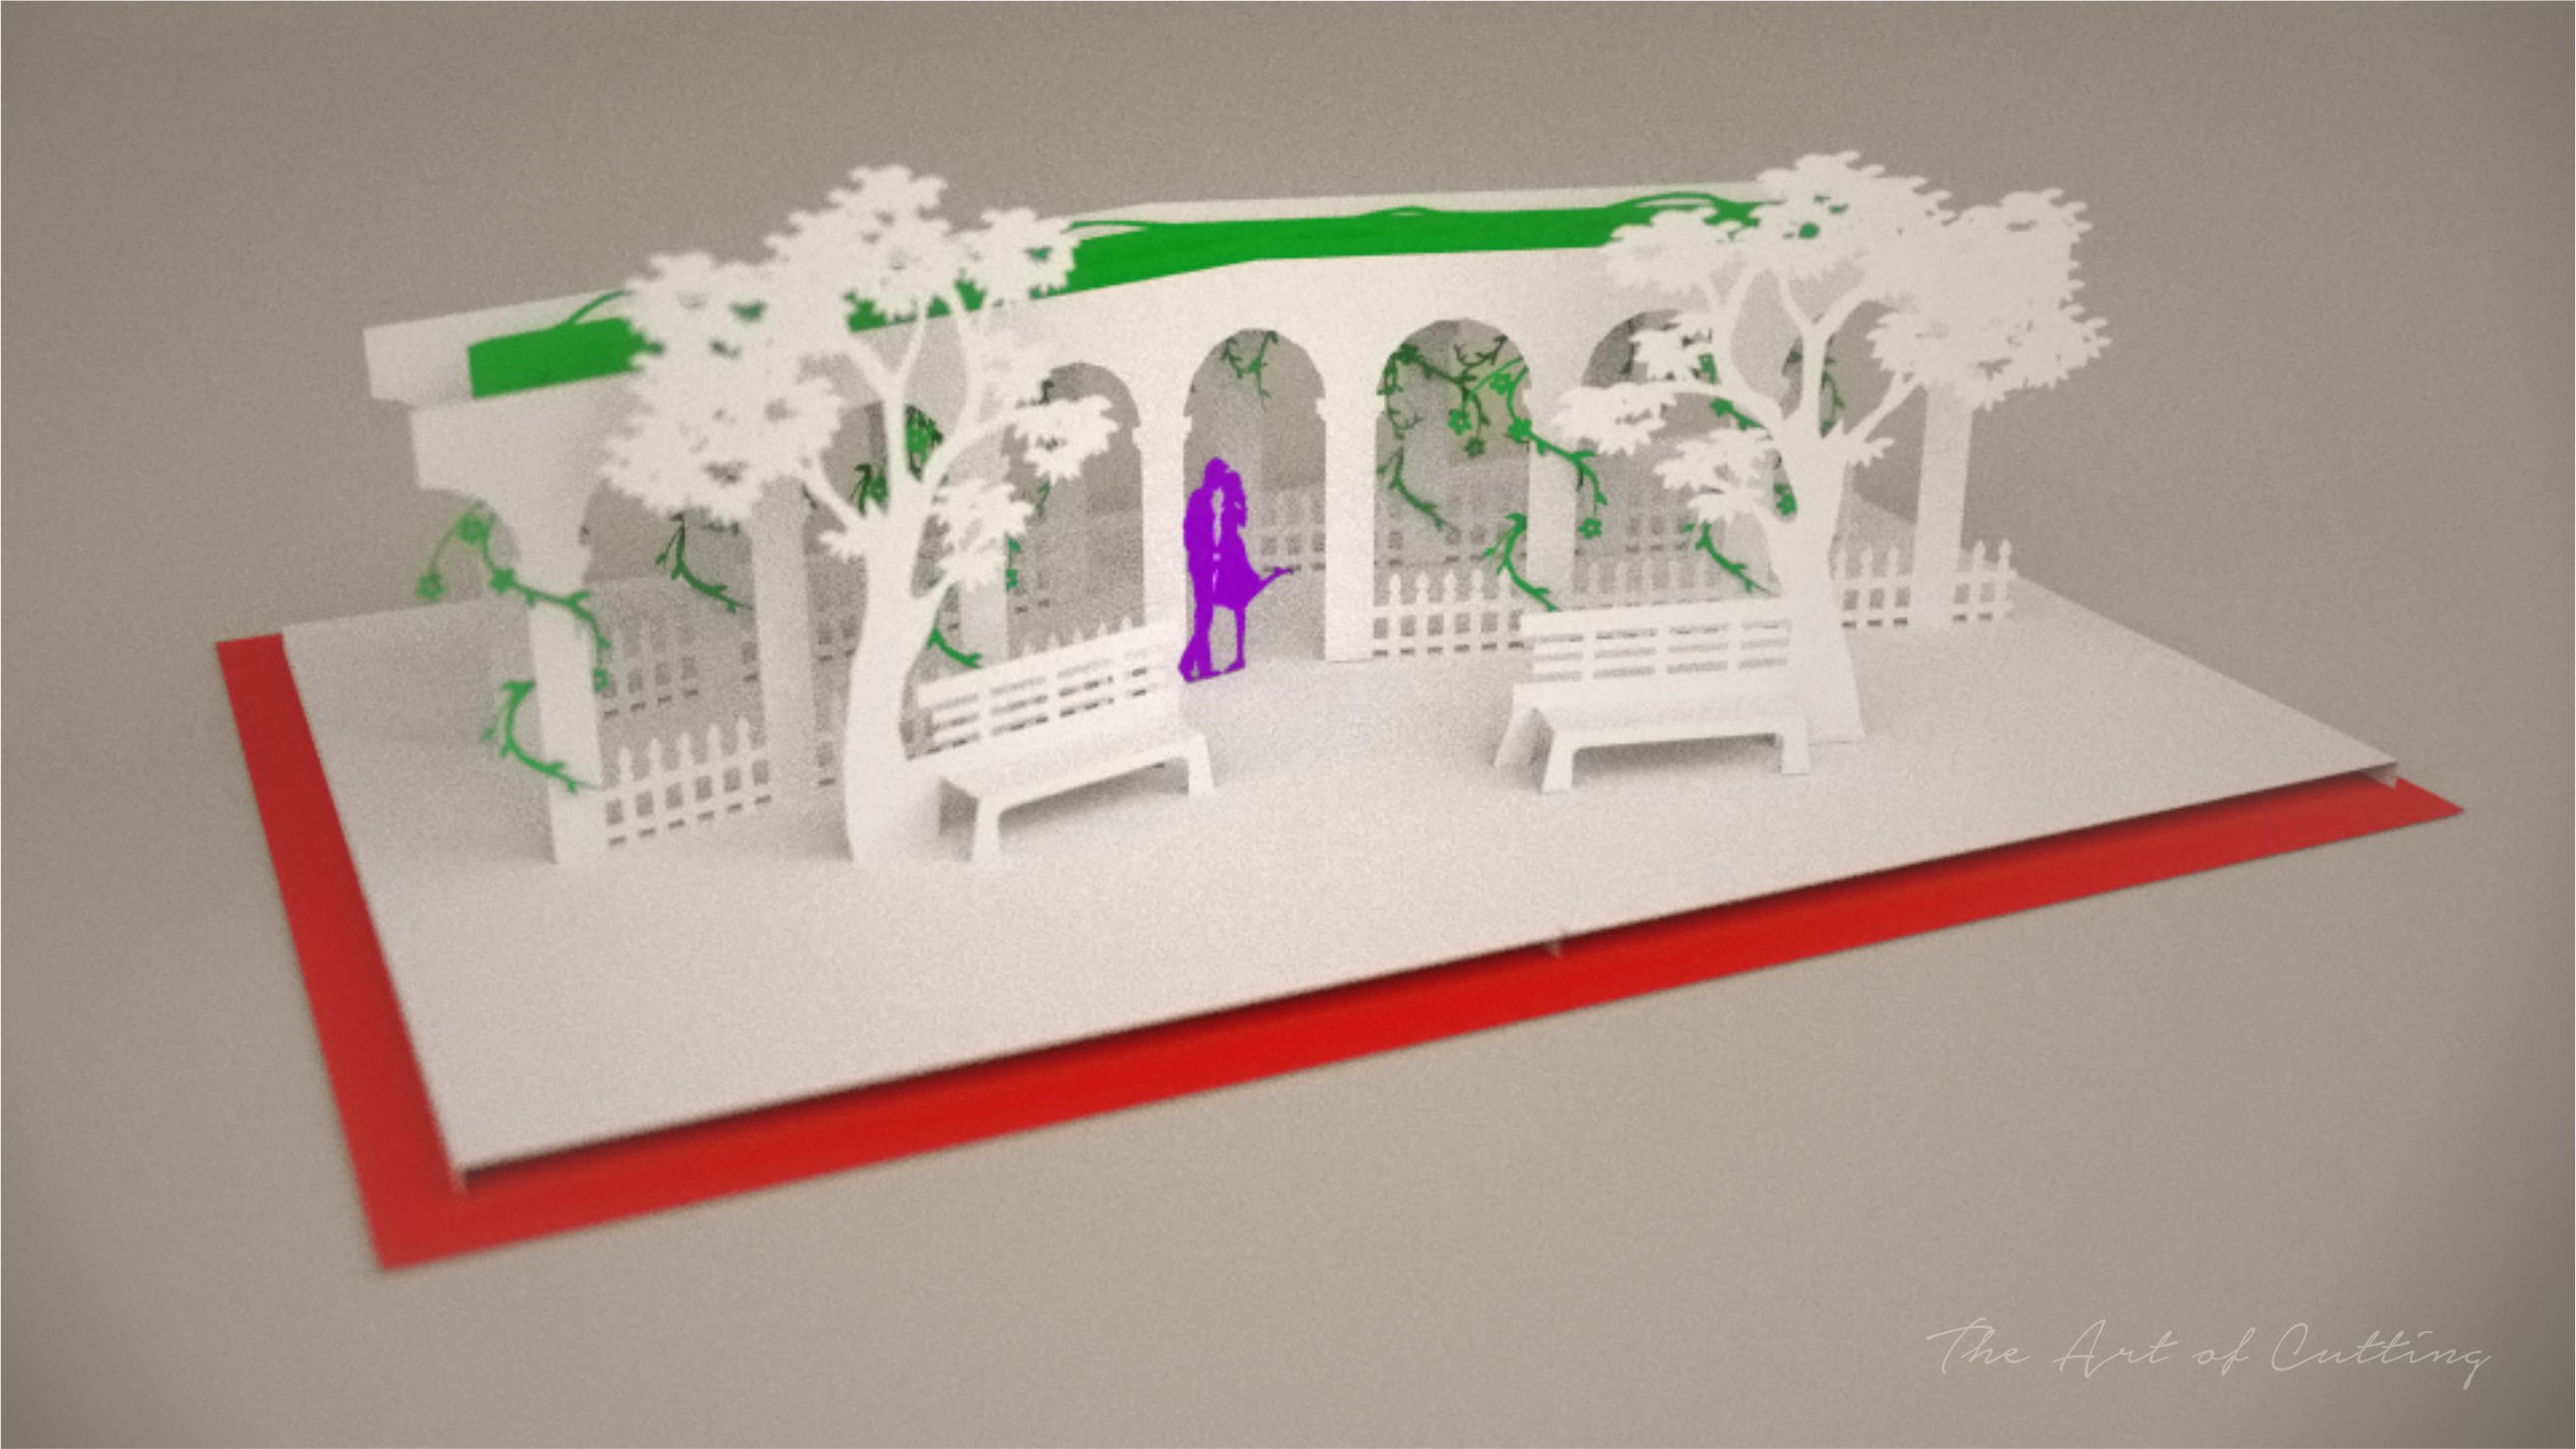
Today I show you the way to make a love popupcard. You can see the card as image below

To make this card, firstly, you must have pattern.
You print that pattern to A4 paper (or paper you use to make card). Then please follow the step-by-step instructions below tomake the card
- Step 1: Cutting outline pattern, you have many pieces (You can choose color for each piece). There is some diffirent from background piece to pattern because in pattern I divided background to 2 pieces (a half for A4 size)
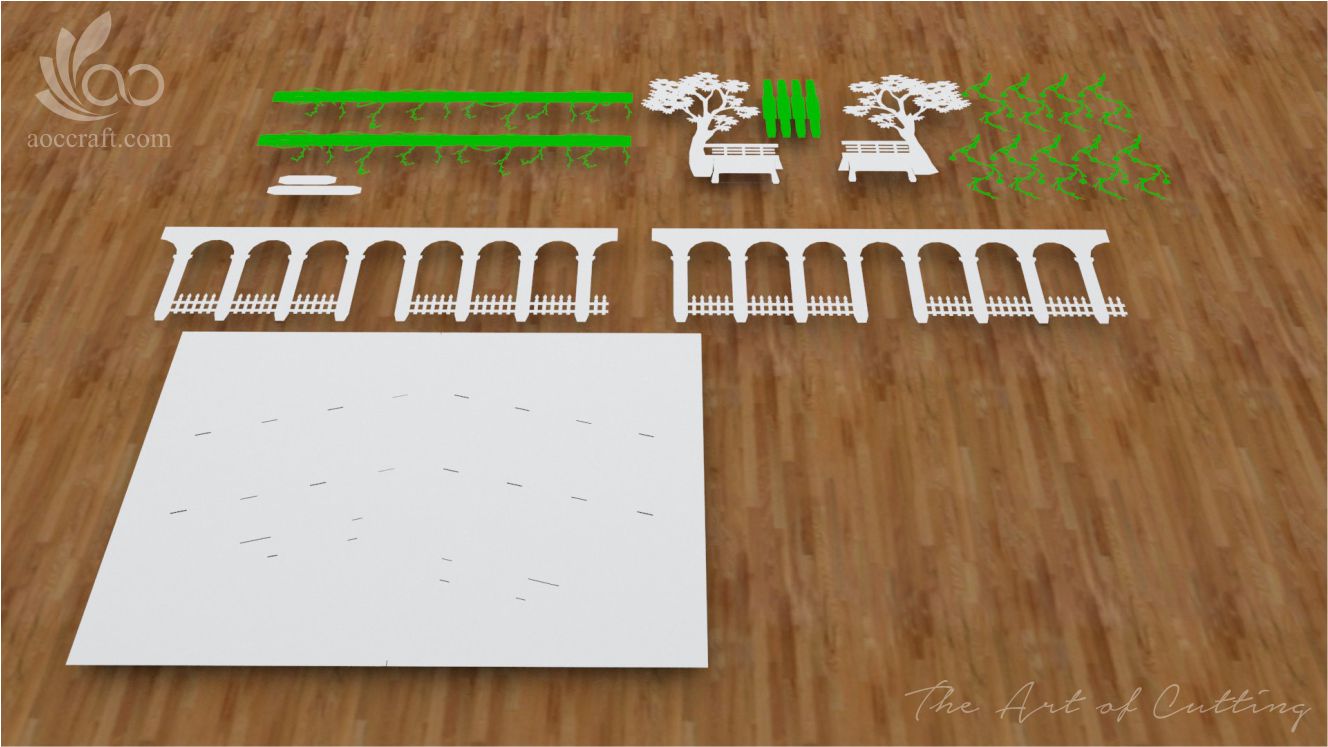
- Step 2: Put first layer on background
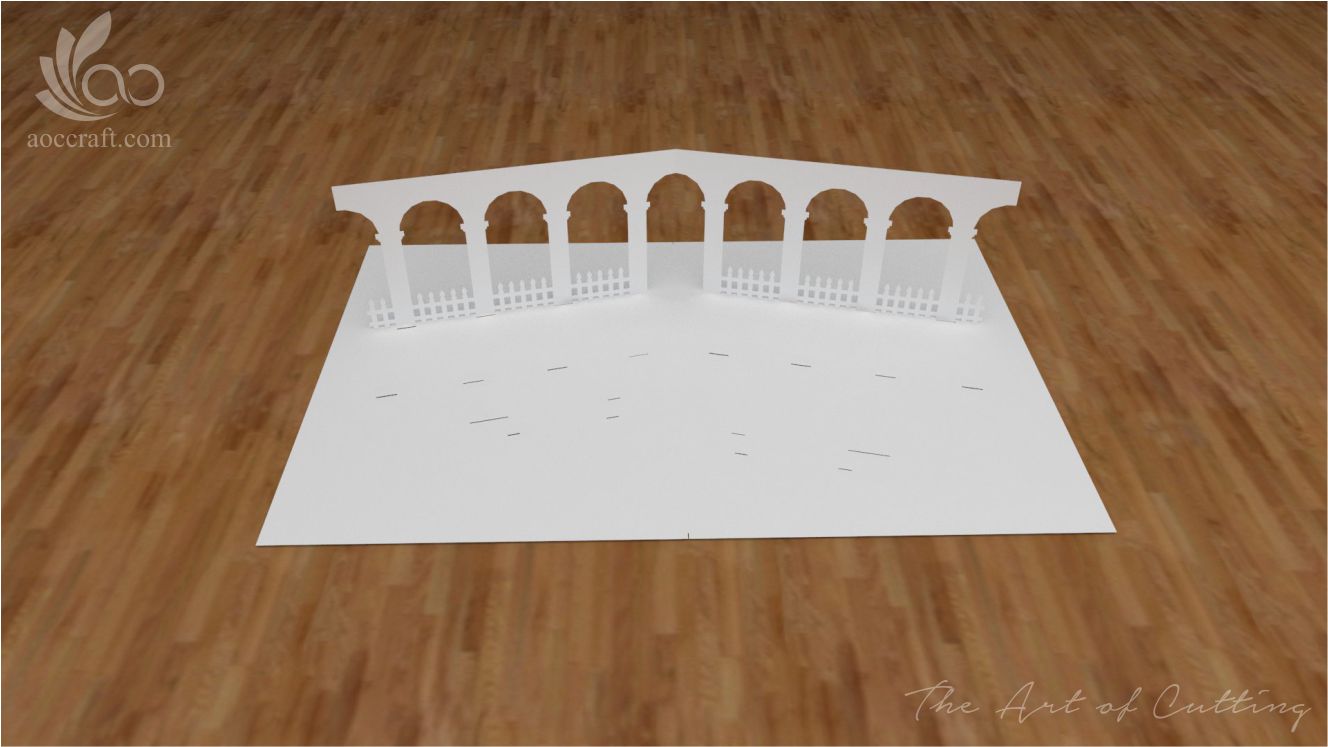
- Step 3: Put second layer to background
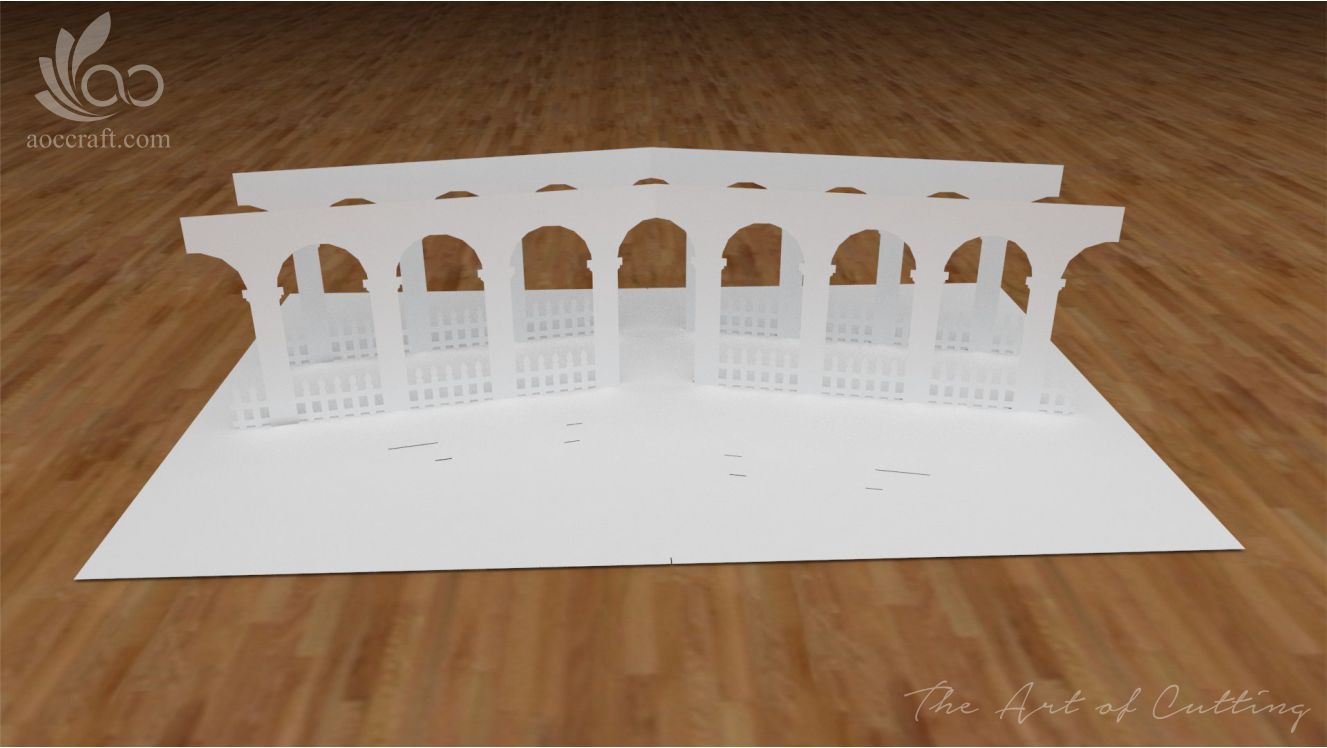
- Step 4: Put some pieces together as this
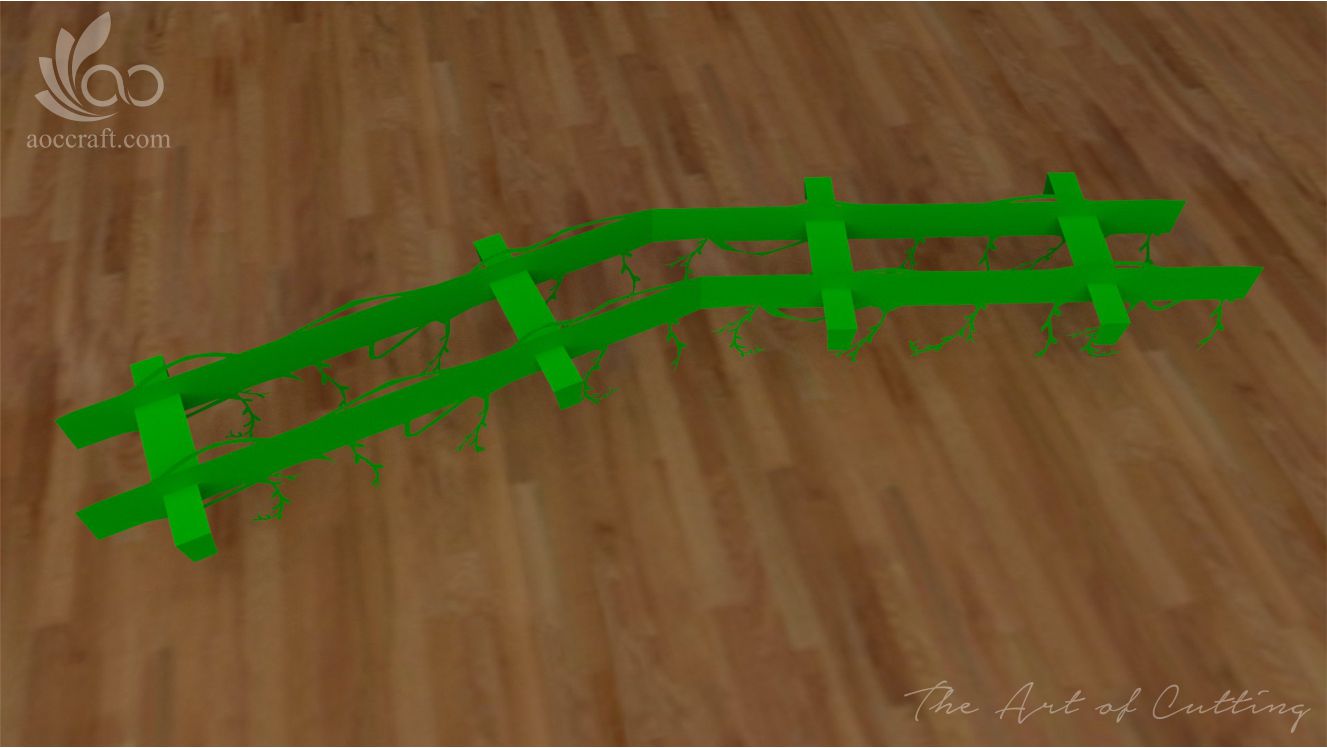
- Step 5: Put part from step 4 between the first and second layer, and glue
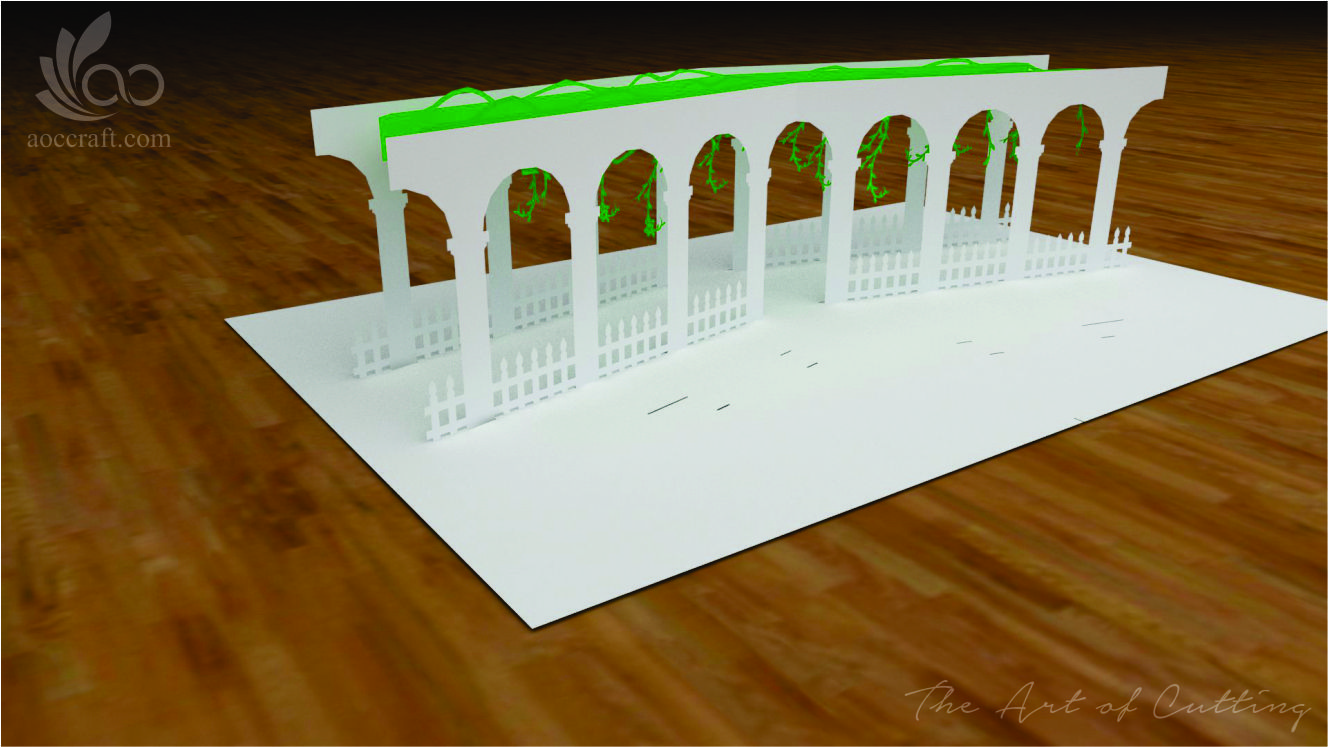
- Step 6: Fold tree and bench as this
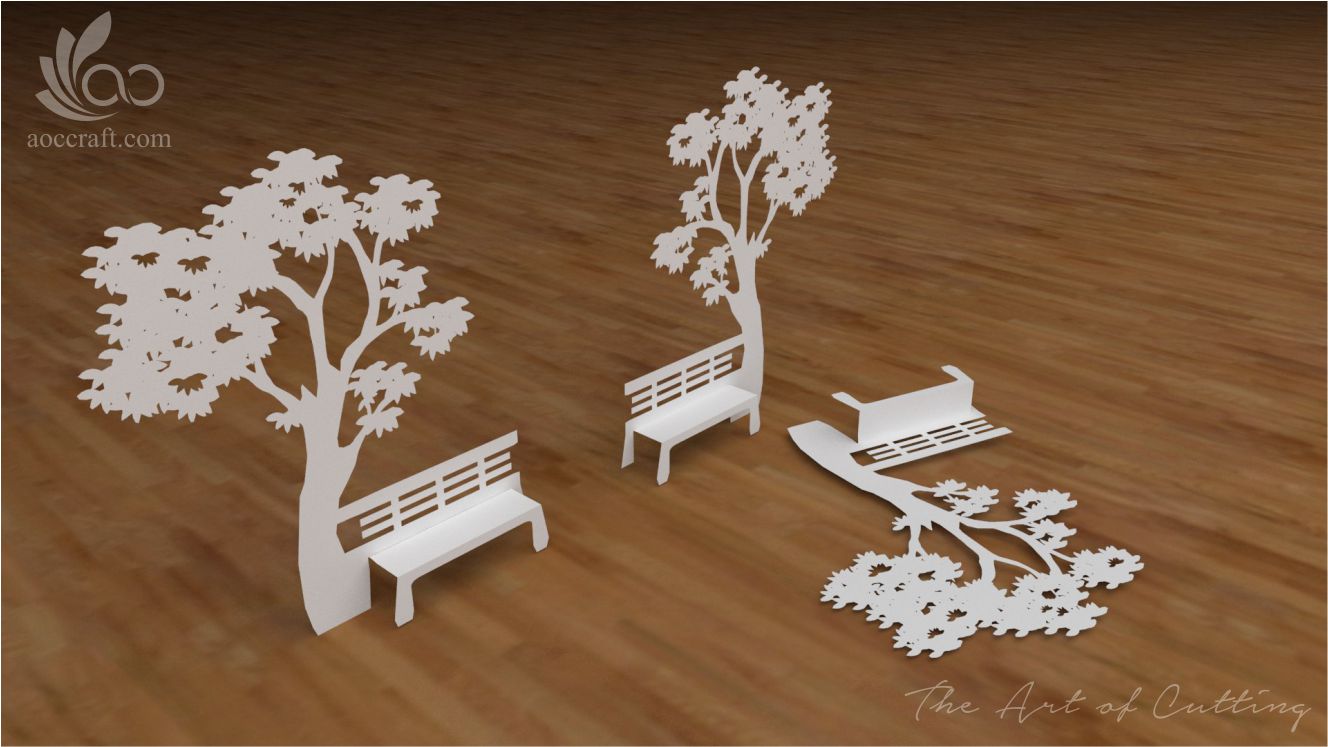
- Step 7: Put tree and bench pieces into correct postitions
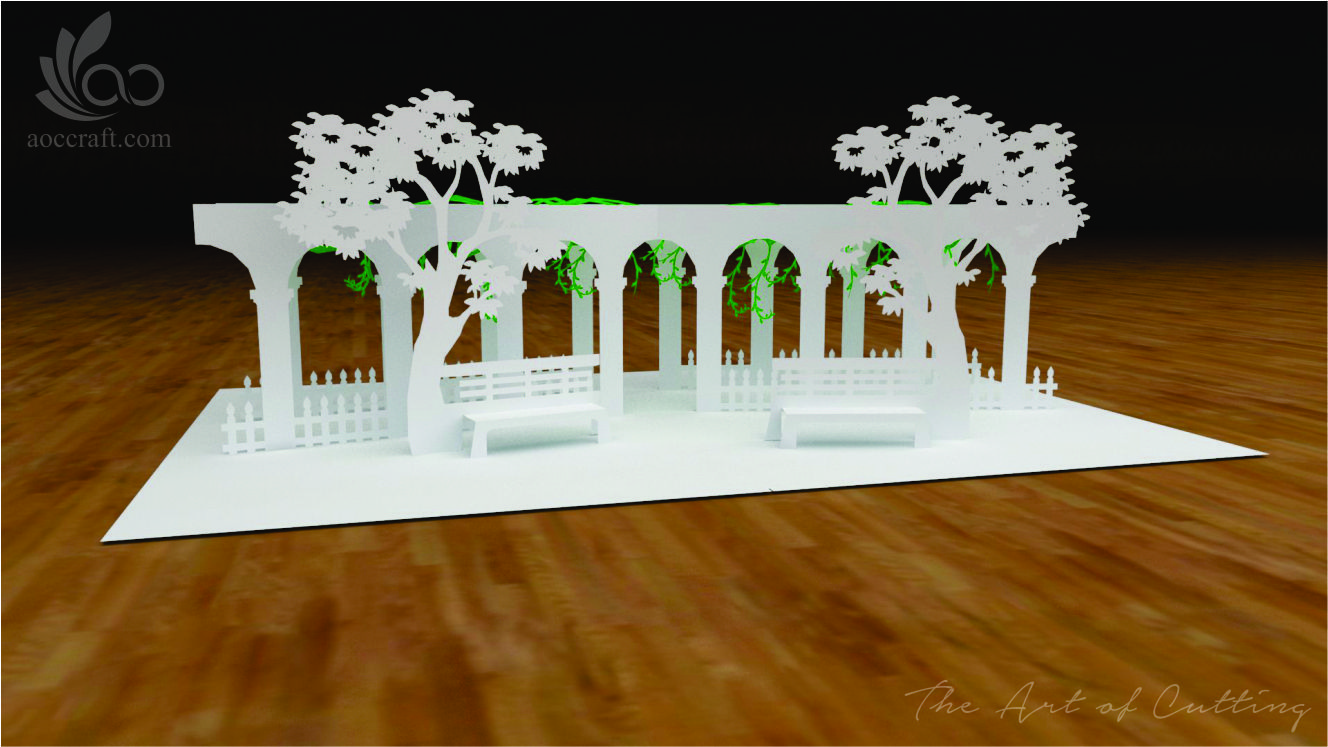
- Step 8: (Important) Glue 2 small pieces between the tree and the second layer. It's very difficult to fold flat your card without them. (pieces in red cycles)
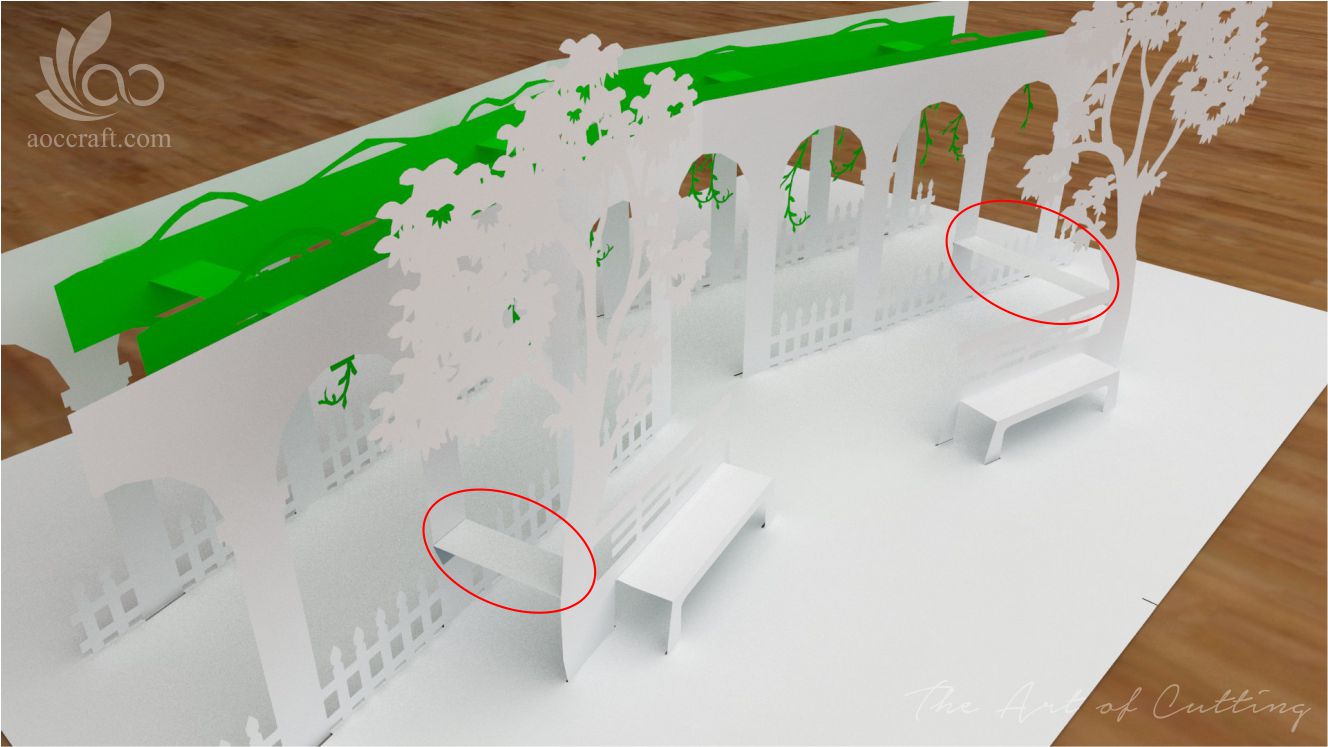
Now you can finish your card in your way.
You can add more ivies, people or something to the card as you want. Here I give 2 examples: For love, and for F.A (just kidding xD )
The first card, a kissing couple with lighting colors for card, as a gift for love
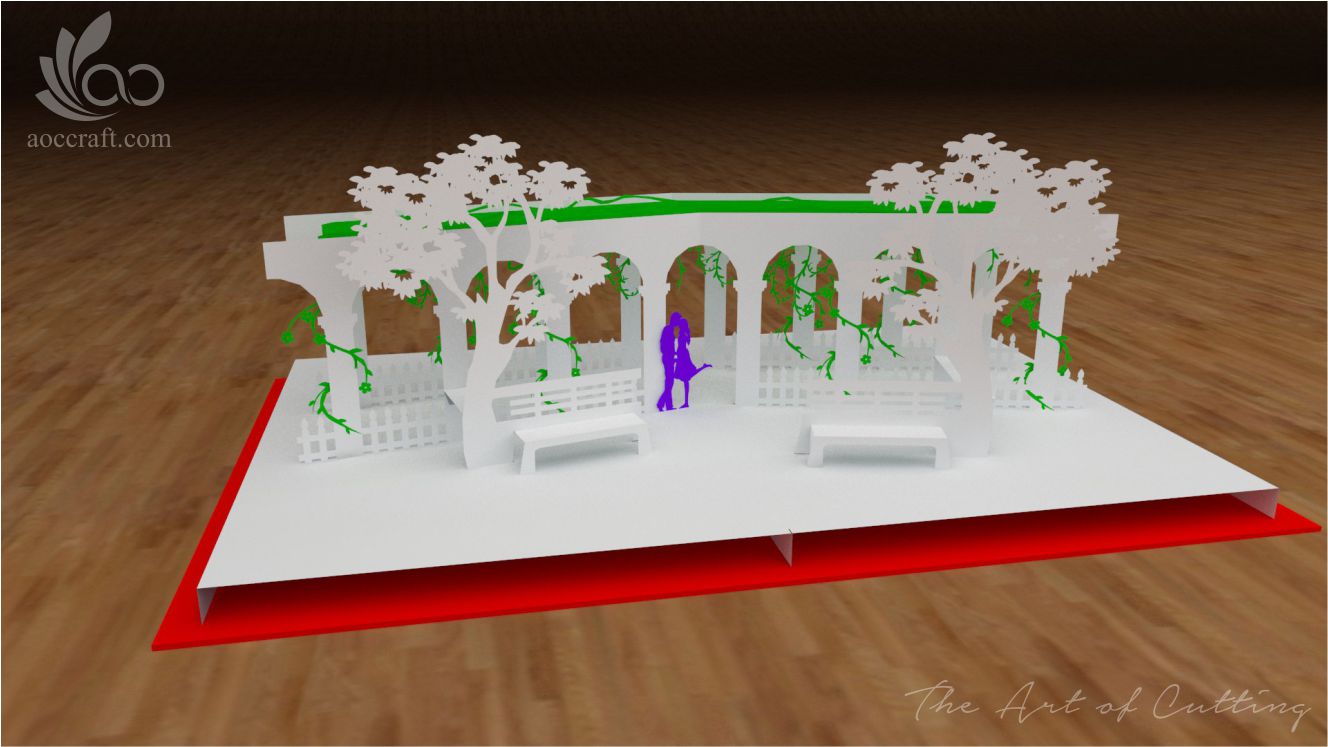
The second card, a lonely man with darker ton of color, for the sad
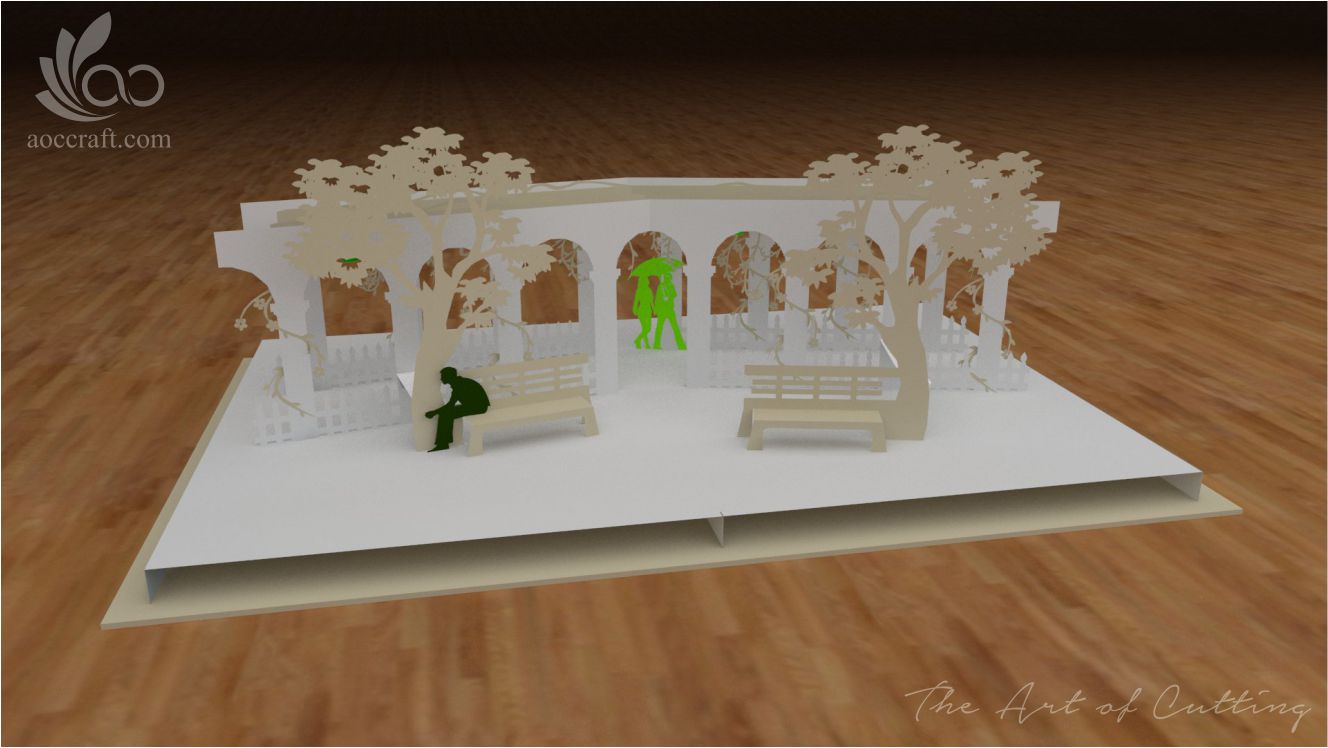
Hope this artical useful for you.
More designs, patterns and tutorials, please visit our website aoccraft.com
Hi everyone,
Today I show you the way to make a love popupcard. You can see the card as image below

To make this card, firstly, you must have pattern.
You print that pattern to A4 paper (or paper you use to make card). Then please follow the step-by-step instructions below tomake the card
- Step 1: Cutting outline pattern, you have many pieces (You can choose color for each piece). There is some diffirent from background piece to pattern because in pattern I divided background to 2 pieces (a half for A4 size)

- Step 2: Put first layer on background

- Step 3: Put second layer to background

- Step 4: Put some pieces together as this

- Step 5: Put part from step 4 between the first and second layer, and glue

- Step 6: Fold tree and bench as this

- Step 7: Put tree and bench pieces into correct postitions

- Step 8: (Important) Glue 2 small pieces between the tree and the second layer. It's very difficult to fold flat your card without them. (pieces in red cycles)

Now you can finish your card in your way.
You can add more ivies, people or something to the card as you want. Here I give 2 examples: For love, and for F.A (just kidding xD )
The first card, a kissing couple with lighting colors for card, as a gift for love

The second card, a lonely man with darker ton of color, for the sad

Hope this artical useful for you.
More designs, patterns and tutorials, please visit our website aoccraft.com
Sponsored: Google Advertising

 đẹp qtqđ luôn