Sponsored:
Sponsored 2:
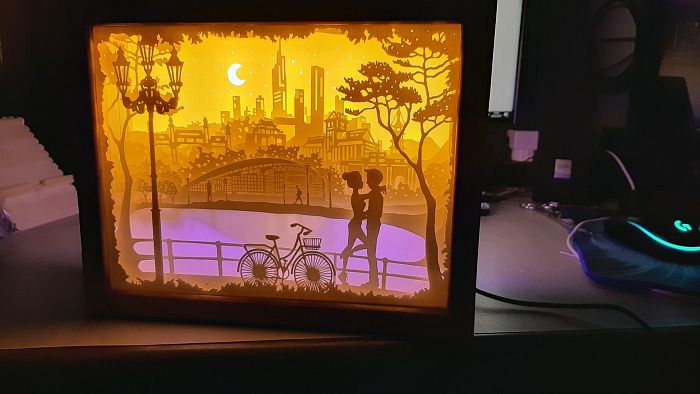
[Tutorial] [TUT] How To Make 1-sided Paper Cut Light Box
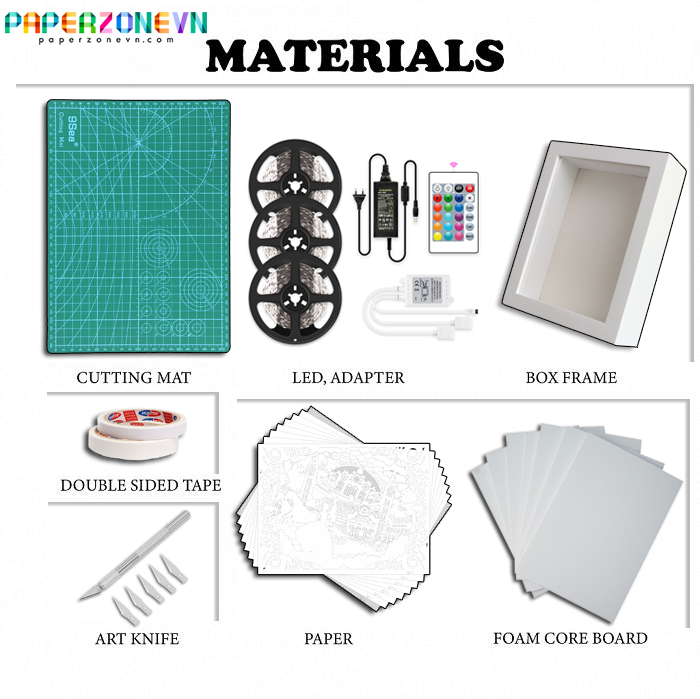
Materials: 160-220g paper, knife (or cutting machines), double-sided tape, 5mm thick foam board, led light.
Steps to make a light box
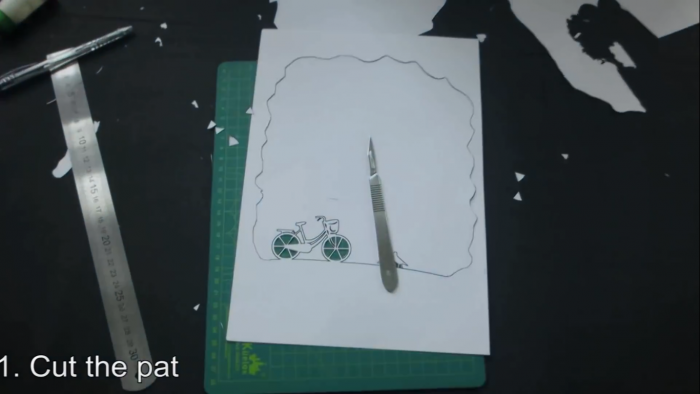
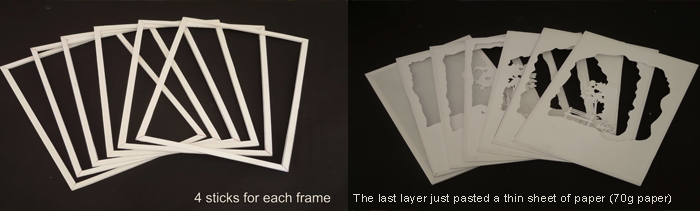
Step 1: Cut the paper.
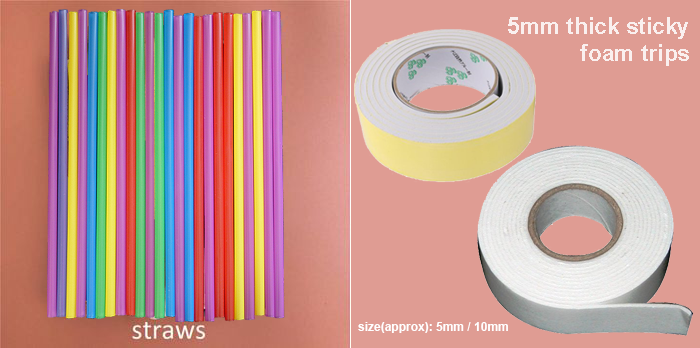
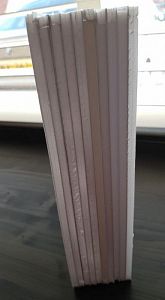
Step 2: Cut the spacers 5 millimeters thick. (using a “foam board” or similar material of 5 millimeters thickness – e.g. straws, 5mm thick sticky foam strips, etc.)
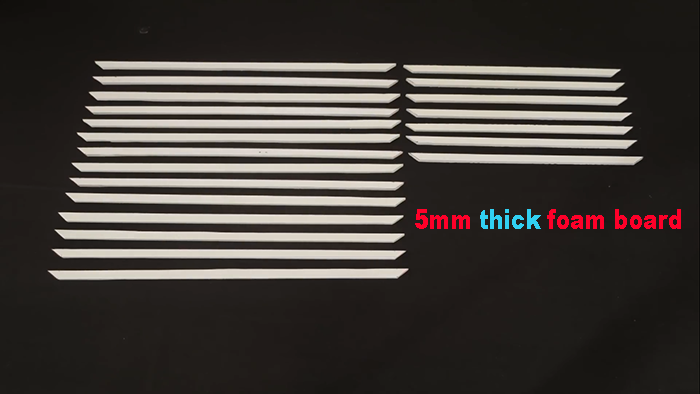
Step 3: Paste the spacers on the back of each layer. Particularly the last layer just pasted a thin sheet of paper (70g paper).
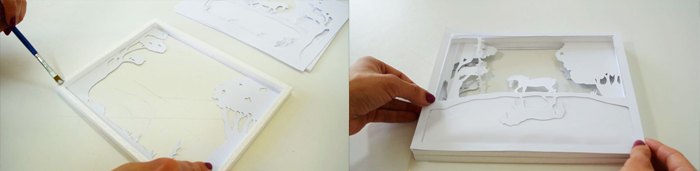
Step 4: Paste all layers together.
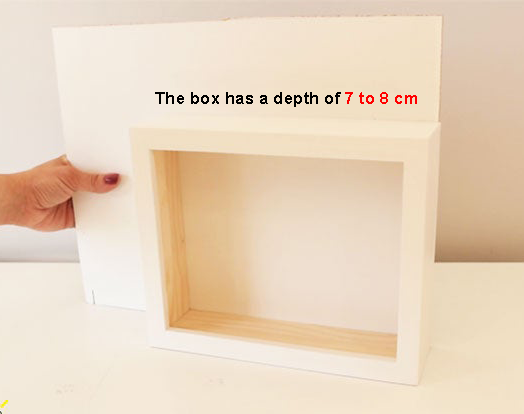
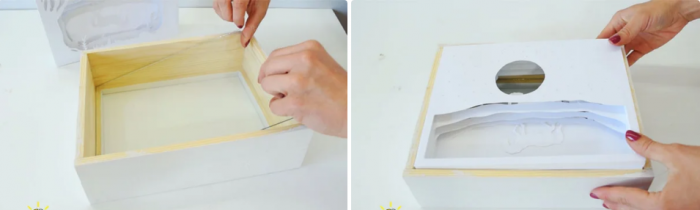
Step 5: Make a box with a depth of 7 to 8 centimeters. (using wood or “foam board”)
Put the mica (or glass) inside the box. (It is used to prevent dust from flying inside the painting box)
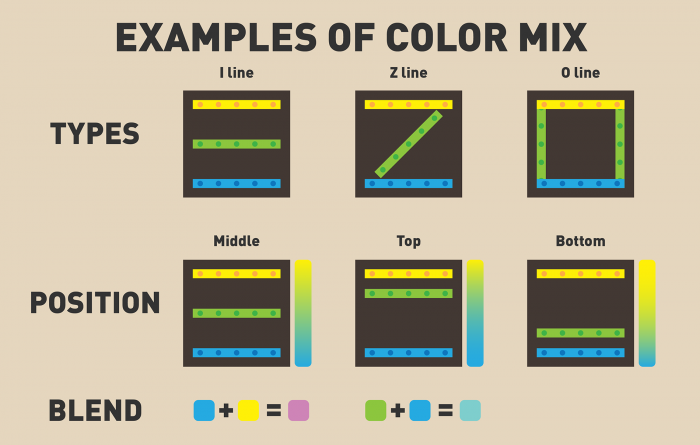
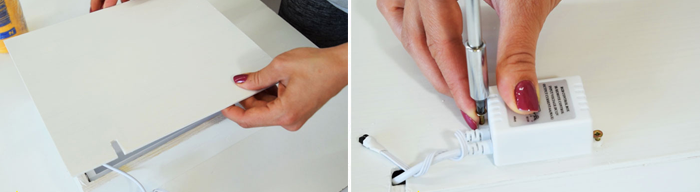
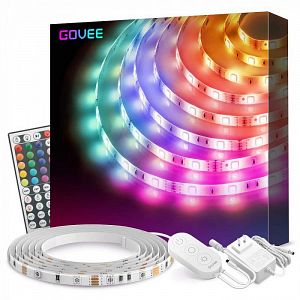
Step 6: Install the Led light on the back of the box. (can use 5-volt or 12-volt LEDs, monochrome or multicolor)
Step 7: Put the picture into the box and close the lid.
Step 8: Turn on the light!
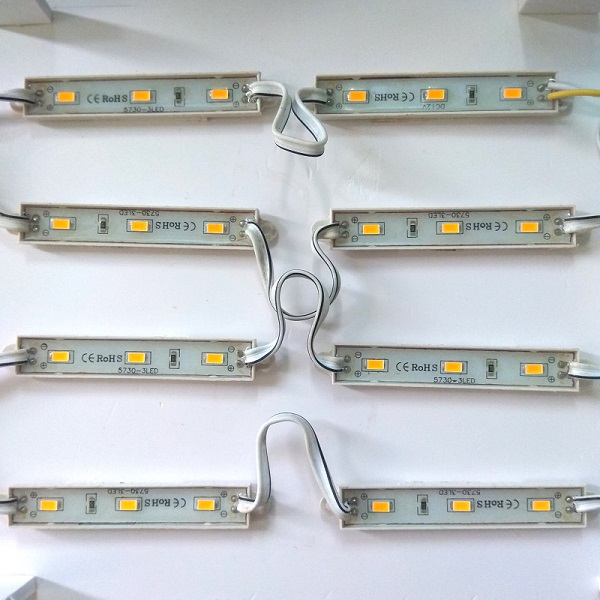
Suggest suitable led lights:
LED lightings 3 modules

Or led strip lights
Glass or plastic
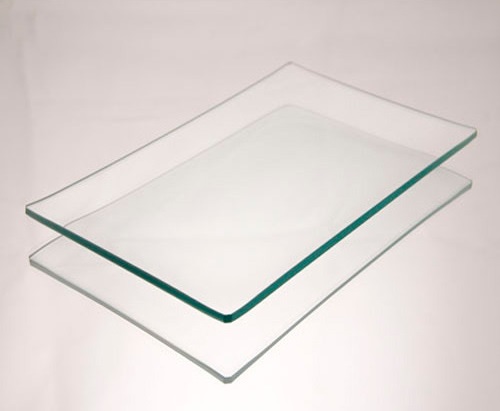
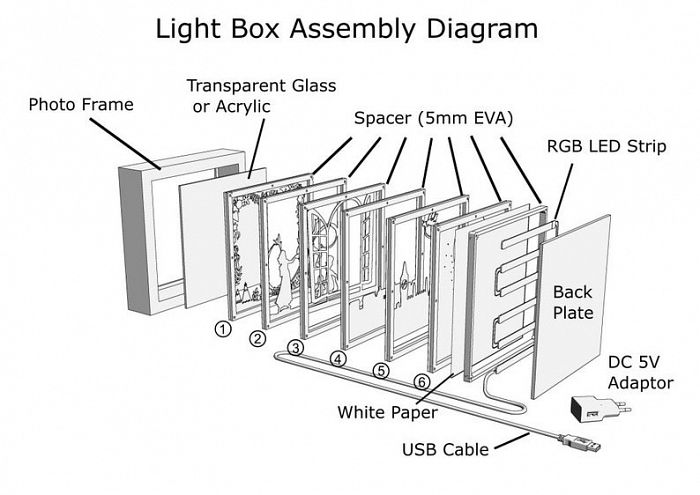
You can see its position in the structural image of a light box.
Its effect is to prevent dust from flying into the light box. So you can still make paper light box even if you don’t have a sheet of glass (or plastic).
Materials: 160-220g paper, knife (or cutting machines), double-sided tape, 5mm thick foam board, led light.
Steps to make a light box
Step 1: Cut the paper.
Step 2: Cut the spacers 5 millimeters thick. (using a “foam board” or similar material of 5 millimeters thickness – e.g. straws, 5mm thick sticky foam strips, etc.)
Step 3: Paste the spacers on the back of each layer. Particularly the last layer just pasted a thin sheet of paper (70g paper).
Step 4: Paste all layers together.
Step 5: Make a box with a depth of 7 to 8 centimeters. (using wood or “foam board”)
Put the mica (or glass) inside the box. (It is used to prevent dust from flying inside the painting box)
Step 6: Install the Led light on the back of the box. (can use 5-volt or 12-volt LEDs, monochrome or multicolor)
Step 7: Put the picture into the box and close the lid.
Step 8: Turn on the light!
Suggest suitable led lights:
LED lightings 3 modules
Or led strip lights
Glass or plastic
You can see its position in the structural image of a light box.
Its effect is to prevent dust from flying into the light box. So you can still make paper light box even if you don’t have a sheet of glass (or plastic).
Sponsored: Google Advertising


